
HEADLAMP
EL-44prose procedureAssembly
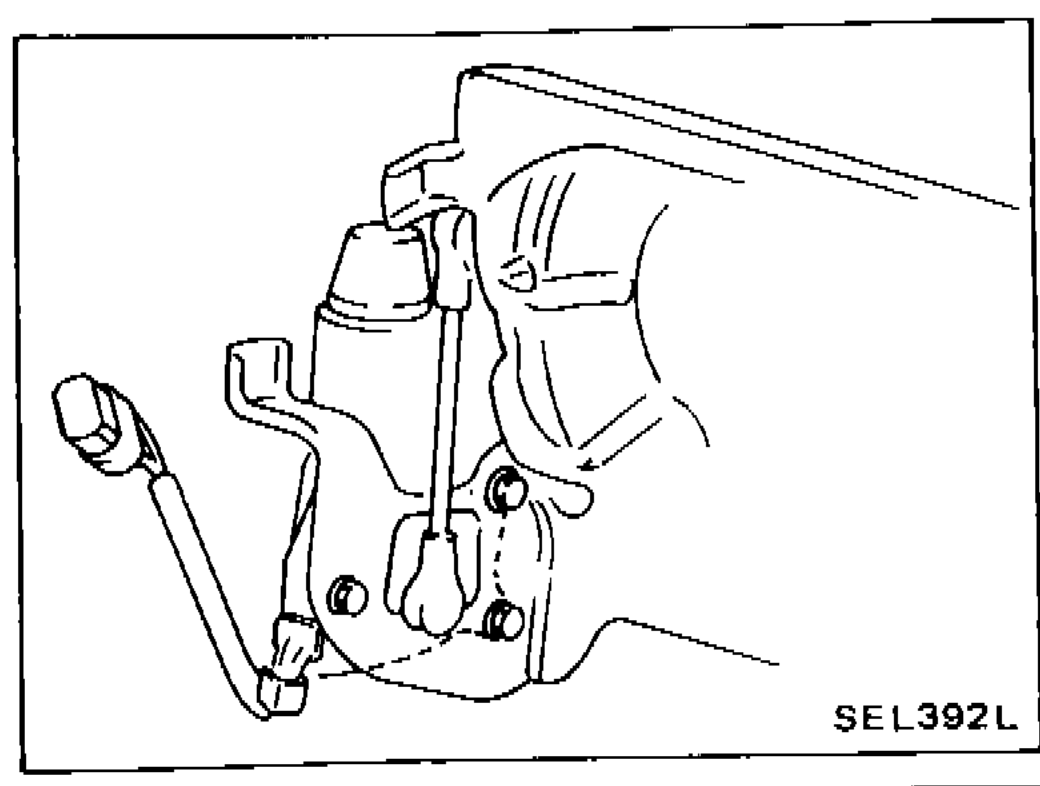
- 1Install headlamp motor, ball joint and link A (as one unit) on headlamp bracket.
 SEL392L
 - 2While turning link B, install link A's ball joint on headlamp housing's ball joint.
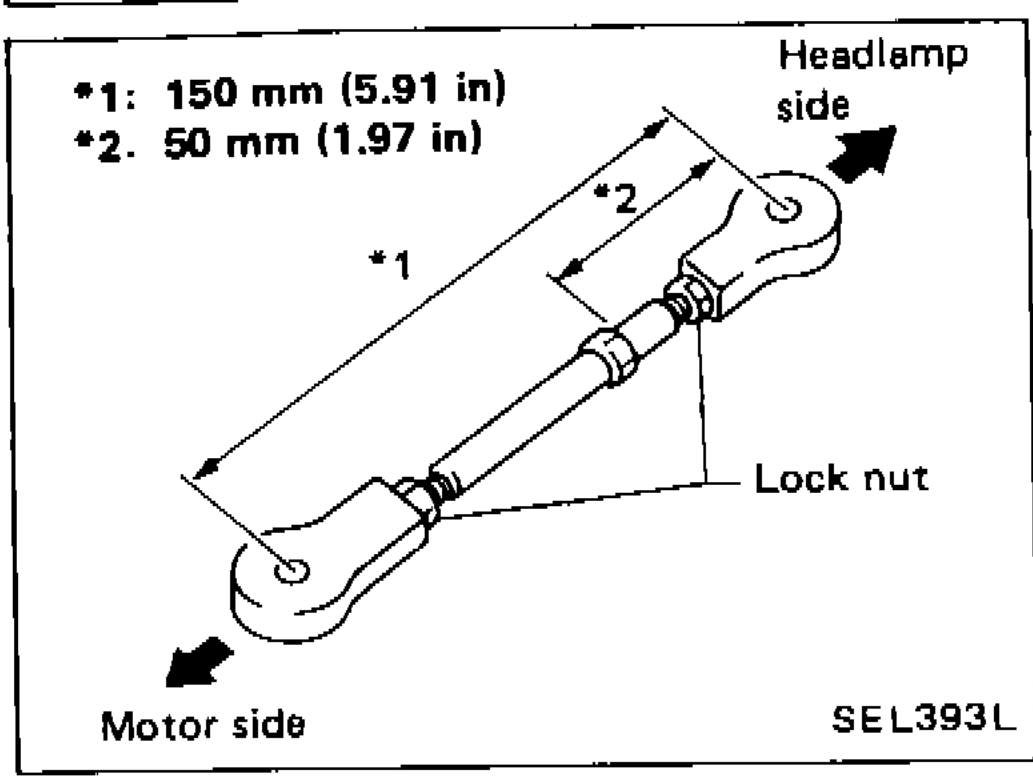
- 3Set distance between centers of upper and lower ball joints as shown in figure at left, and tighten lock nuts.
 SEL393L
 - 4Assemble headlamp, finisher and lid.
| Specification | Value |
|---|---|
| *1 Distance between centers (motor side to mid-point)Link assembly measurement *1 | 150mm (5.91 in) |
| *2 Distance between centers (mid-point to headlamp side)Link assembly measurement *2 | 50mm (1.97 in) |
*1 Distance between centers (motor side to mid-point)Link assembly measurement *1
150mm (5.91 in)
*2 Distance between centers (mid-point to headlamp side)Link assembly measurement *2
50mm (1.97 in)
Installation and Adjustment
WARNING
Before doing this, be sure to disconnect battery ground cable.
Installation and Adjustment
- 1Install headlamp bracket to body temporarily.1) Determine headlamp bracket location on body so that alignment between lid, hood, and fender looks straight.2) After adjusting alignment, tighten headlamp bracket to body.
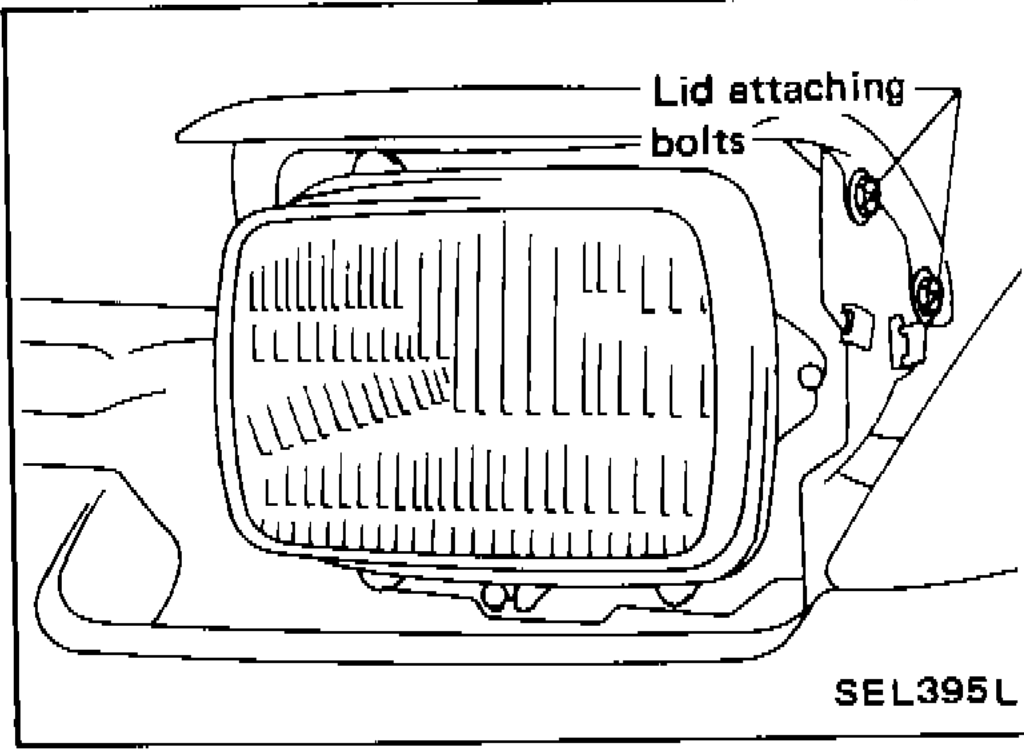
- 2Adjust lid alignment.Adjust lid, hood and fender for alignment while opening and closing headlamp with motor manual knob. Use motor manual knob to open and close headlamp, and adjust alignment while checking that lid is not interfering with hood.
 SEL395L
| Specification | Value |
|---|---|
| Headlamp bracket top clearance (approx.)Installation adjustment clearance | 6.8mm (0.268 in) |
| Headlamp bracket side clearance left (approx.)Installation adjustment clearance | 6.0mm (0.236 in) |
| Headlamp bracket side clearance right (approx.)Installation adjustment clearance | 6.0mm (0.236 in) |
Headlamp bracket top clearance (approx.)Installation adjustment clearance
6.8mm (0.268 in)
Headlamp bracket side clearance left (approx.)Installation adjustment clearance
6.0mm (0.236 in)
Headlamp bracket side clearance right (approx.)Installation adjustment clearance
6.0mm (0.236 in)