
BRAKE HYDRAULIC LINE — Bleeding Procedure (Cont'd), Removal/Installation, Inspection
BR-5prose procedureUnverifiedBleeding sequence differs between non-A.B.S. (4 calipers) and A.B.S. cars (4 calipers + 2 actuator bleeders).
Bleeding Procedure (Cont'd)
Bleed air according to the following procedure.
Bleeding sequence — Without A.B.S.
1
Left rear caliper
next
2
Right rear caliper
next
3
Left front caliper
next
4
Right front caliper
Bleeding sequence — With A.B.S.
1
Left rear caliper
next
2
Right rear caliper
next
3
Left front caliper
next
4
Right front caliper
next
5
Front side air bleeder on A.B.S. actuator
next
6
Rear side air bleeder on A.B.S. actuator
IMPORTANT
To bleed air out of lines, wheel cylinders and calipers, use the following procedure.
Per-caliper bleeding procedure
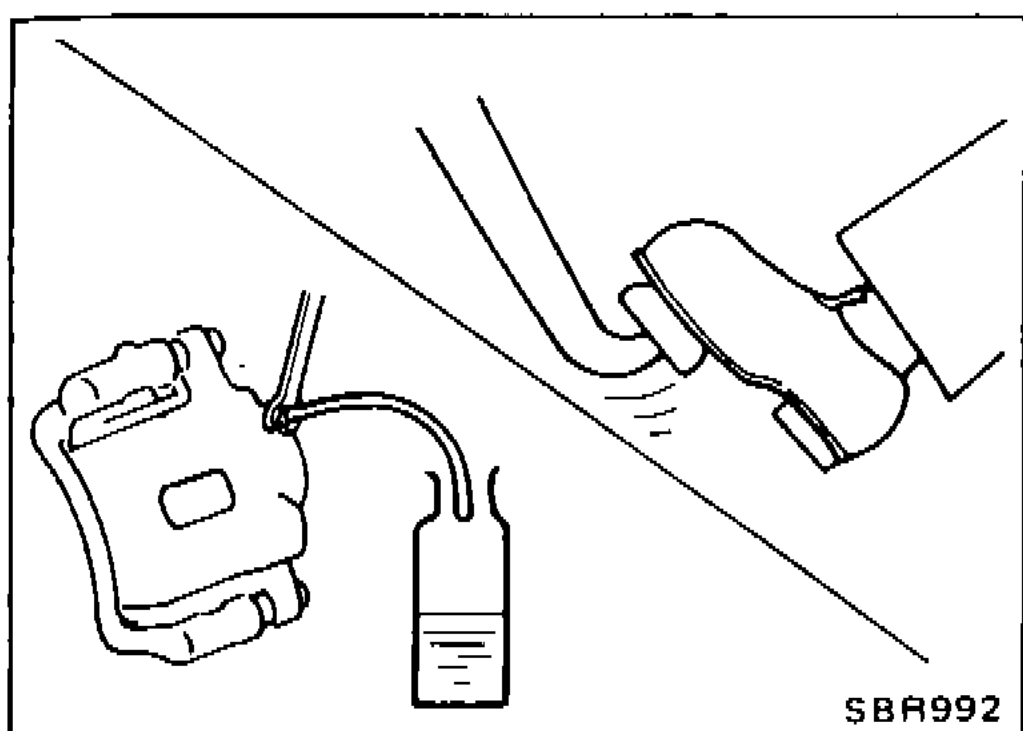
- 1Connect a transparent vinyl tube to air bleeder valve.
 SBR992
 - 2Fully depress brake pedal several times.
- 3With brake pedal depressed, open air bleeder valve to release air.
- 4Close air bleeder valve.
- 5Release brake pedal slowly.
- 6Repeat steps 2) through 5) until clear brake fluid comes out of air bleeder valve.
Removal and Installation
Brake-hose removal / installation
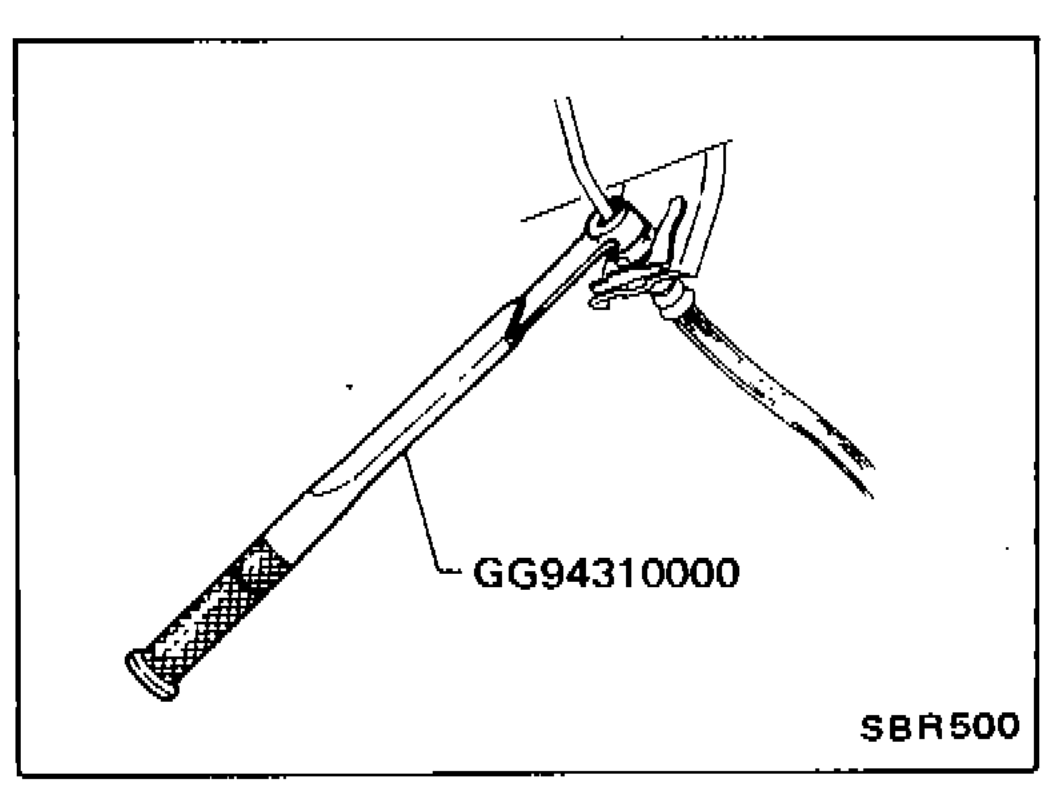
- 1To remove brake hose, first remove flare nut securing brake tube to hose, then withdraw lock spring.
 SBR500
 - 2Cover openings to prevent entrance of dirt whenever disconnecting hydraulic line.
- 3All hoses must be free from excessive bending, twisting and pulling.
- 4After installing brake lines, check for oil leakage by fully depressing brake pedal.
Inspection
Check brake lines (tubes and hoses) for cracks, deterioration or other damage. Replace any damaged parts.
If leakage occurs around joints, retighten or, if necessary, replace damaged parts.