
PARKING BRAKE CONTROL — Adjustment
BR-29prose procedureAdjustment
Parking-brake control adjustment
- 1Ensure that parking brake releases when control lever is pulled down completely. If control lever does not release parking brake, proceed as follows: Pull control lever up by 4 or 5 notches. Insert a box wrench into opening in control lever and loosen self-lock adjusting nut to slacken cables. Completely push control lever down.
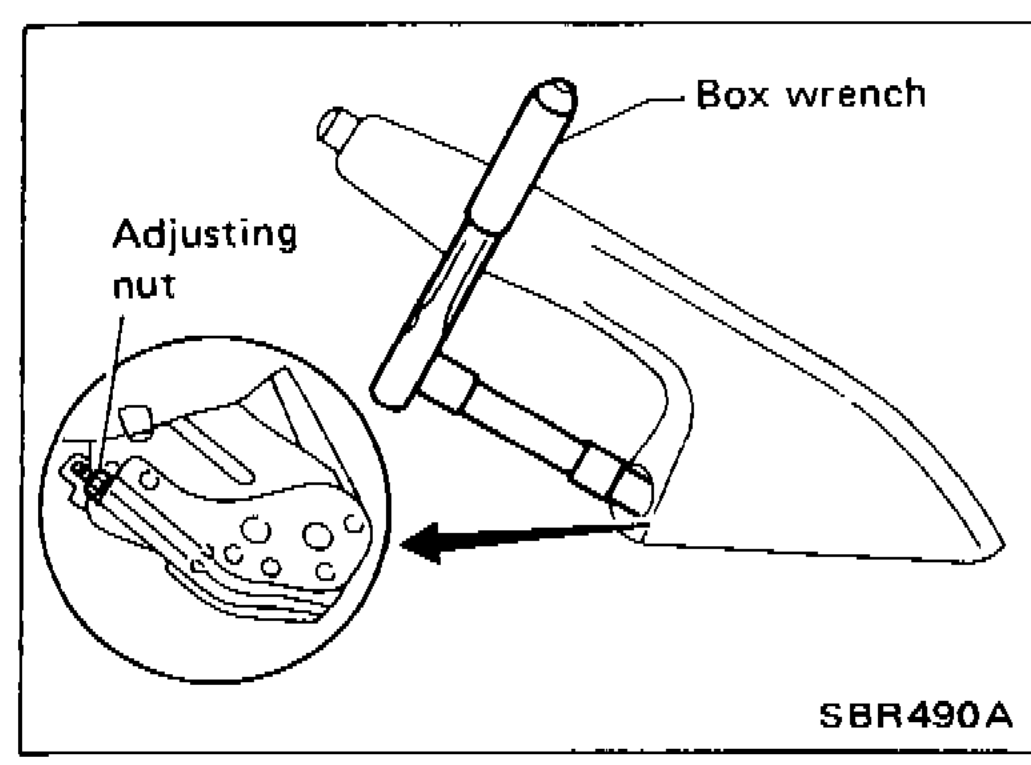 SBR490A
 - 2Forcefully depress brake pedal about five times (so that caliper is automatically set in position).
- 3Pull lever up by 4 or 5 notches.
- 4Turn adjusting nut as shown in figure at left and adjust lever stroke to specified value.
- 5Completely push control lever down and ensure that parking brake is released completely and rear brakes are free from dragging.
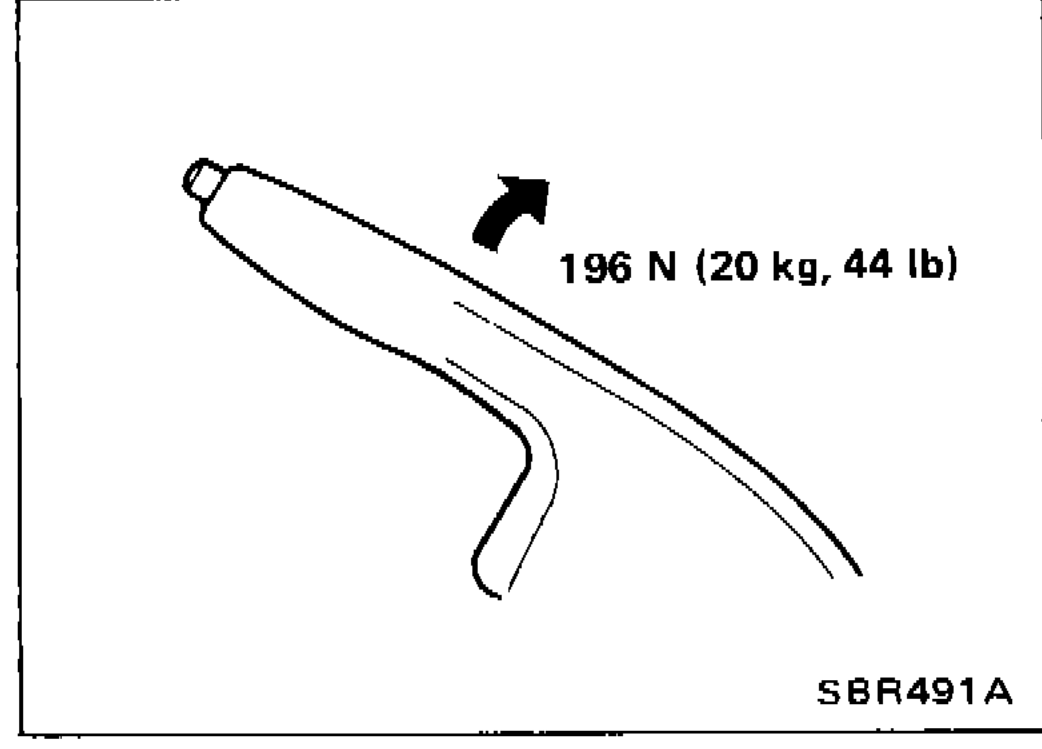
- 6Pull control lever with specified amount of force. Check lever stroke and ensure smooth operation.
 SBR491A
 - 7Bend parking brake warning lamp switch plate so that brake warning light comes on when ratchet at parking brake lever is pulled "A" notches and goes out when fully released.
 SBR493A
| Specification | Value |
|---|---|
| Step 6 — Lever-pull forceStroke check. | 196N (20 kg, 44 lb) |
| Step 6 — Number of notchesLever stroke at specified force. | 6 - 8 |
| Step 7 — Number of notches "A"Warning-lamp switch on/off threshold. | 1 |
Step 6 — Lever-pull forceStroke check.
196N (20 kg, 44 lb)
Step 6 — Number of notchesLever stroke at specified force.
6 - 8
Step 7 — Number of notches "A"Warning-lamp switch on/off threshold.
1