
REAR AXLE — Drive Shaft — Assembly (Cont'd)
RA-17prose procedureAssembly (Cont'd)
Final-drive-side assembly (continued from RA-16)
- 2Install spider assembly securely, making sure marks are properly aligned.Press-fit with spider assembly serration chamfer facing shaft.
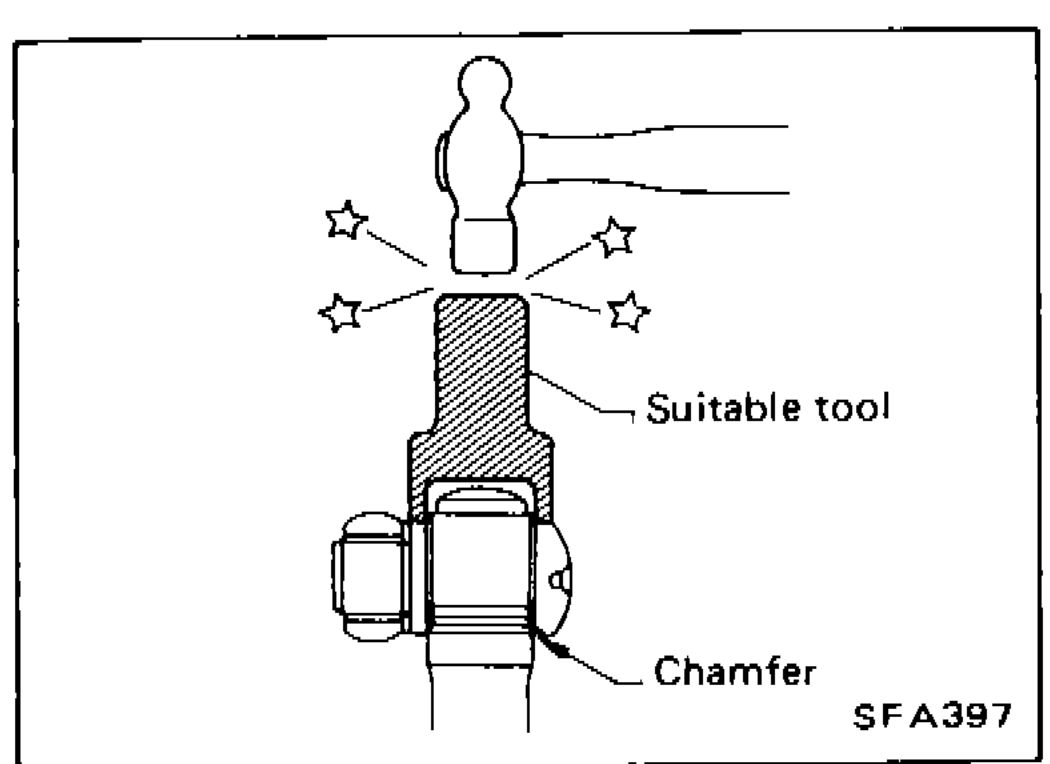 SFA397
 - 3Install new snap ring.
- 4Install coil spring, spring cap and new plug seal to slide joint housing. Press plug seal.Apply sealant to mating surface of plug seal.When pressing plug seal into place, hold it horizontal so that spring inside it does not tilt or fall down.Move shaft in axial direction to ensure that spring is installed properly. If shaft drags or if spring is not installed properly, remove plug seal and install a new one. Discard plug seal after removal.
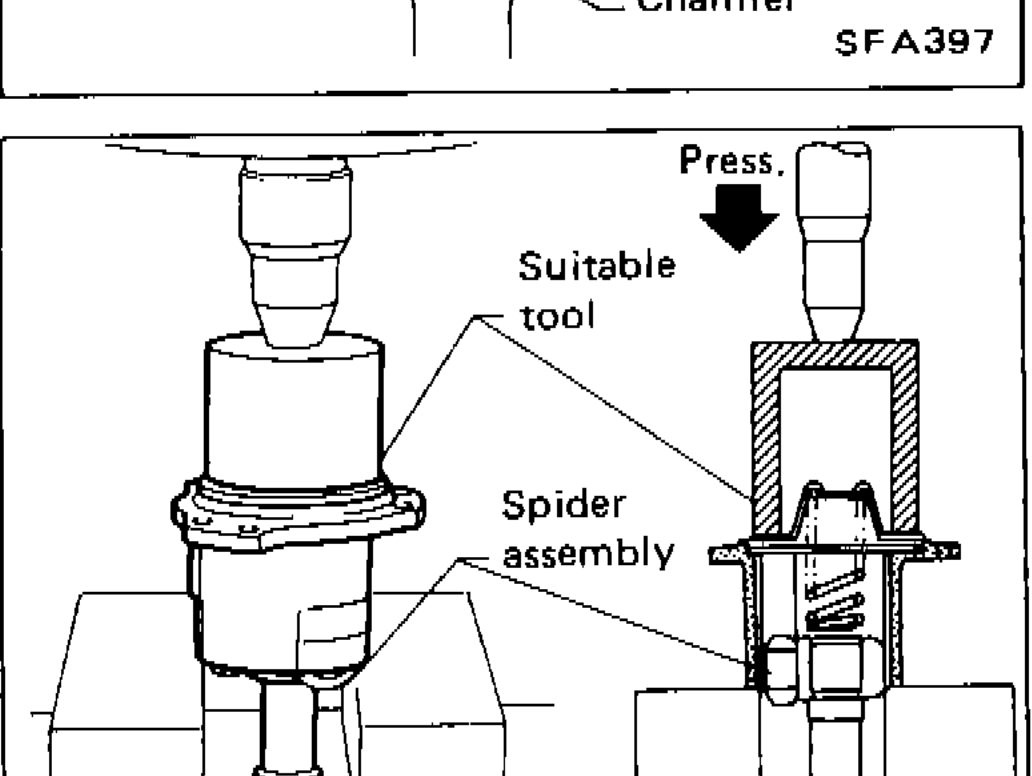 SRA122A
 - 5Pack drive shaft with specified amount of grease.
- 6Set boot so that it does not swell and deform when its length is "L₁". Make sure that boot is properly installed on the drive shaft groove.
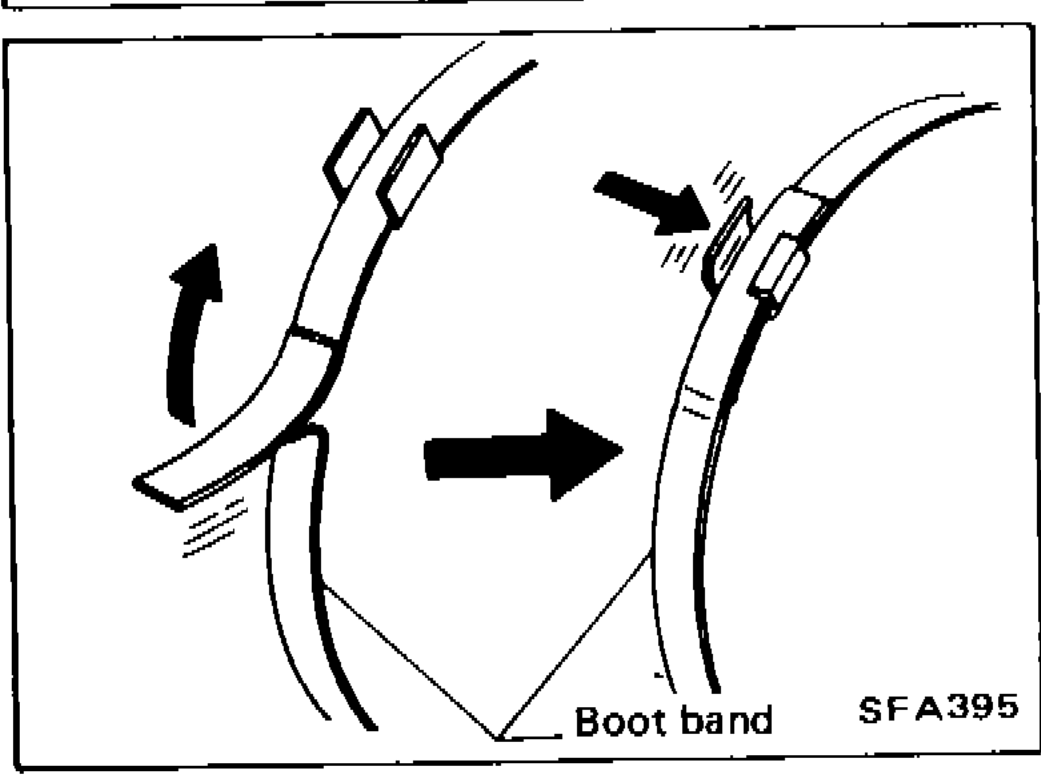 SRA124A
| Specification | Value |
|---|---|
| Specified amount of grease (final drive side)Step 5 — pack drive shaft. | 185 - 195g (6.52 - 6.88 oz) |
| Boot installed length L₁Step 6 — set boot before clamping. | 110.5 - 112.5mm (4.35 - 4.43 in) |
Specified amount of grease (final drive side)Step 5 — pack drive shaft.
185 - 195g (6.52 - 6.88 oz)
Boot installed length L₁Step 6 — set boot before clamping.
110.5 - 112.5mm (4.35 - 4.43 in)