
OIL SEAL REPLACEMENT
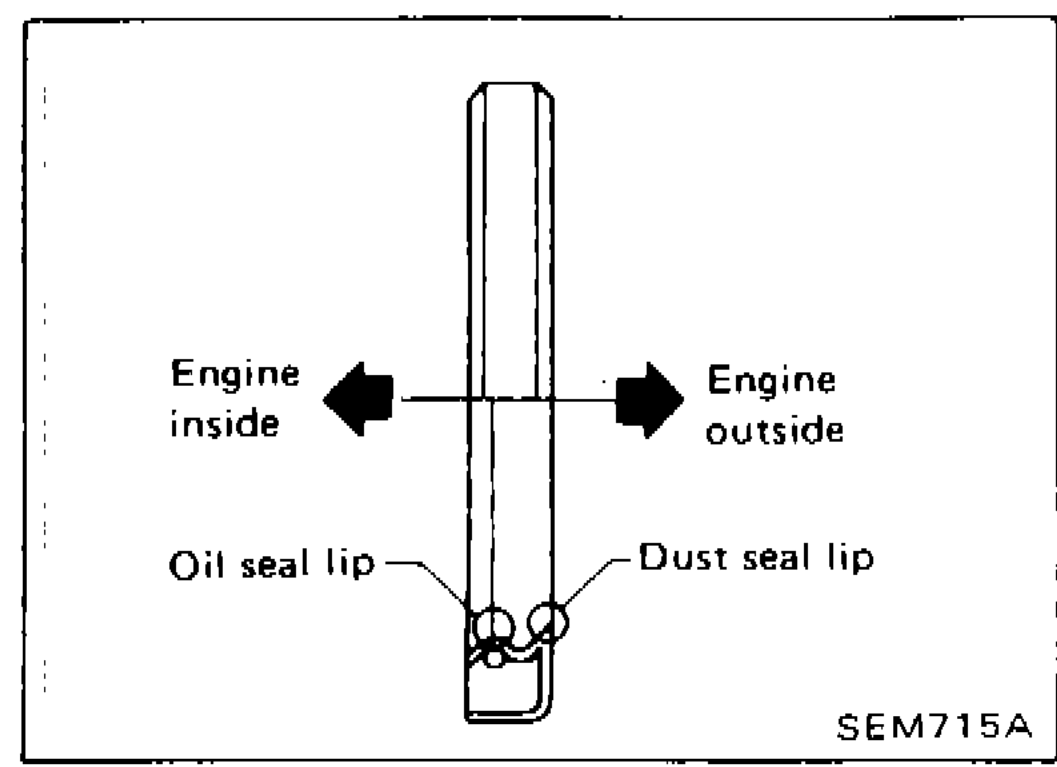
EM-14prose procedureOIL SEAL INSTALLING DIRECTION
Component LocationFig. fig1
Diagram showing correct oil seal installing direction with lip orientations
SEM715A
1Engine inside(left)
2Engine outside(right)
3Oil seal lip(lower left)
4Dust seal lip(lower right)
CAMSHAFT OIL SEAL
- 1Set No. 1 piston at T.D.C. on its compression stroke.
- 2Remove crank angle sensor, front cover, timing belt, camshaft sprockets and rear dust cover.
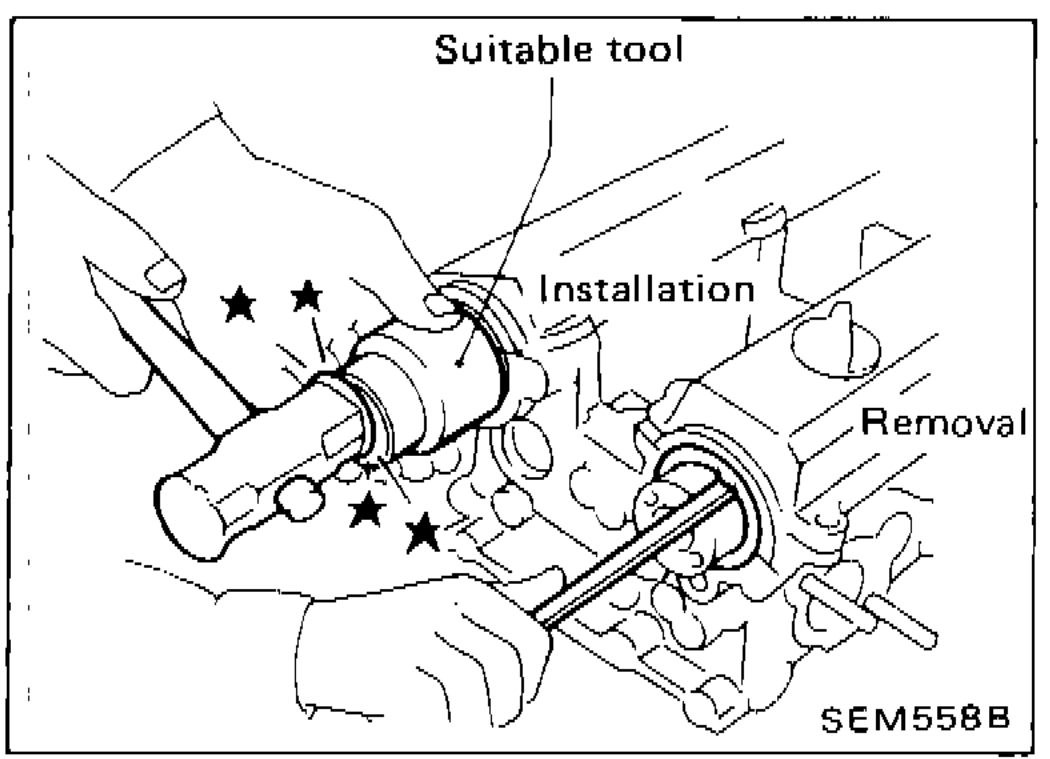
- 3Remove camshaft oil seal.Be careful not to scratch camshaft.
 SEM558B
 - 4Apply engine oil to camshaft oil seal lip and install it in place.
CAUTION
Be careful not to scratch camshaft.
FRONT OIL SEAL
- 1Set No. 1 piston at T.D.C. on its compression stroke.
- 2Remove timing belt and crankshaft sprocket.
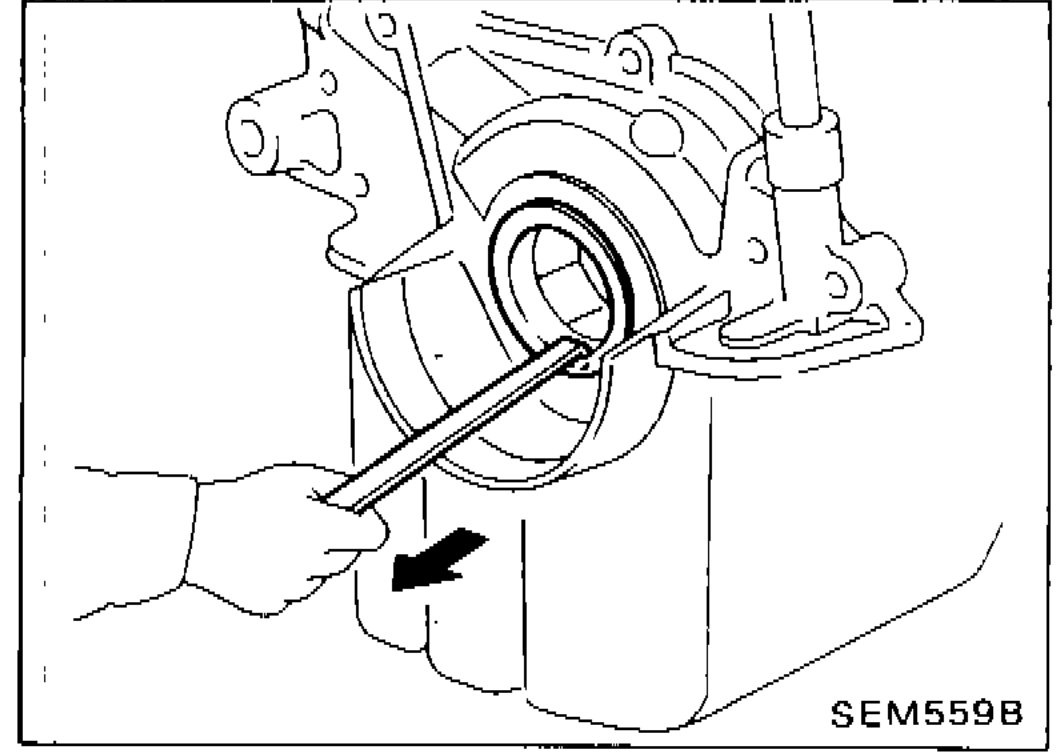
- 3Remove front oil seal.
 SEM559B
 - 4Apply engine oil to oil seal lip and install it in place using suitable tool.
REAR OIL SEAL
- 1Remove transmission and flywheel.
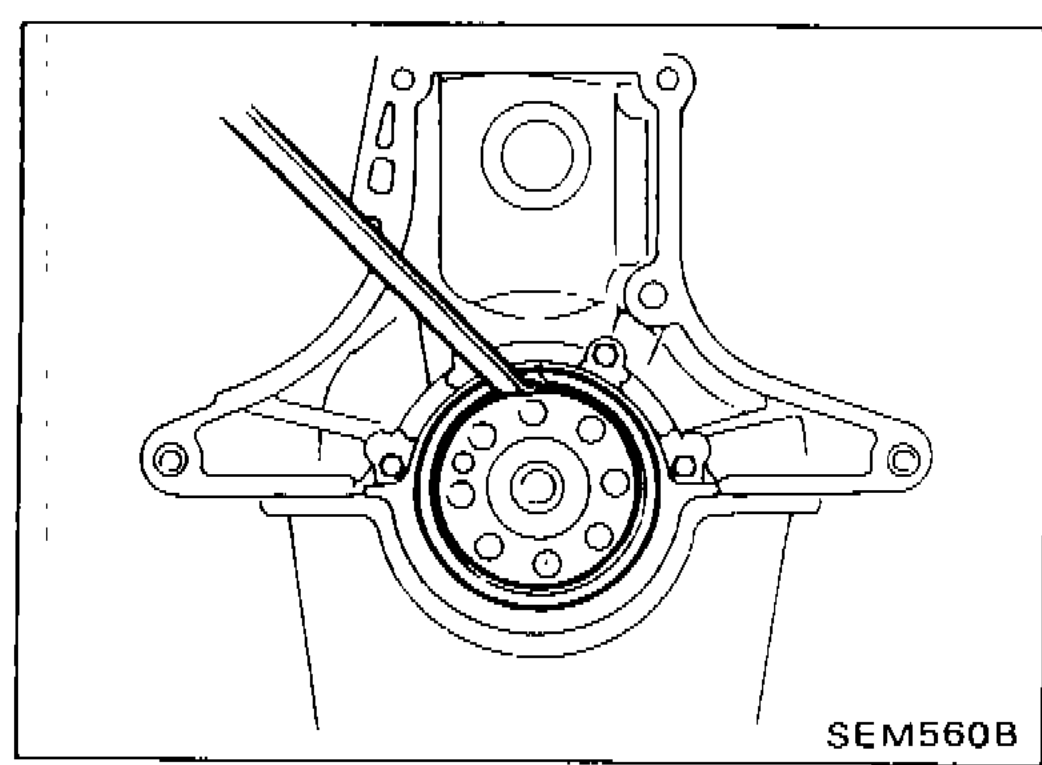
- 2Remove rear oil seal from the retainer.
 SEM560B
 - 3Apply engine oil to oil seal lip and install it in place using suitable tool.
VALVE OIL SEAL
- 1Set No. 1 piston at T.D.C. on its compression stroke.
- 2Remove throttle chamber and rocker covers.
- 3Remove camshafts and valve lifters.
- 4Remove spark plug.
- 5Install air hose adapter into spark plug hole and apply air pressure to hold valves in place. [Apply pressure of 490 kPa (4.9 bar, 5 kg/cm², 71 psi)].
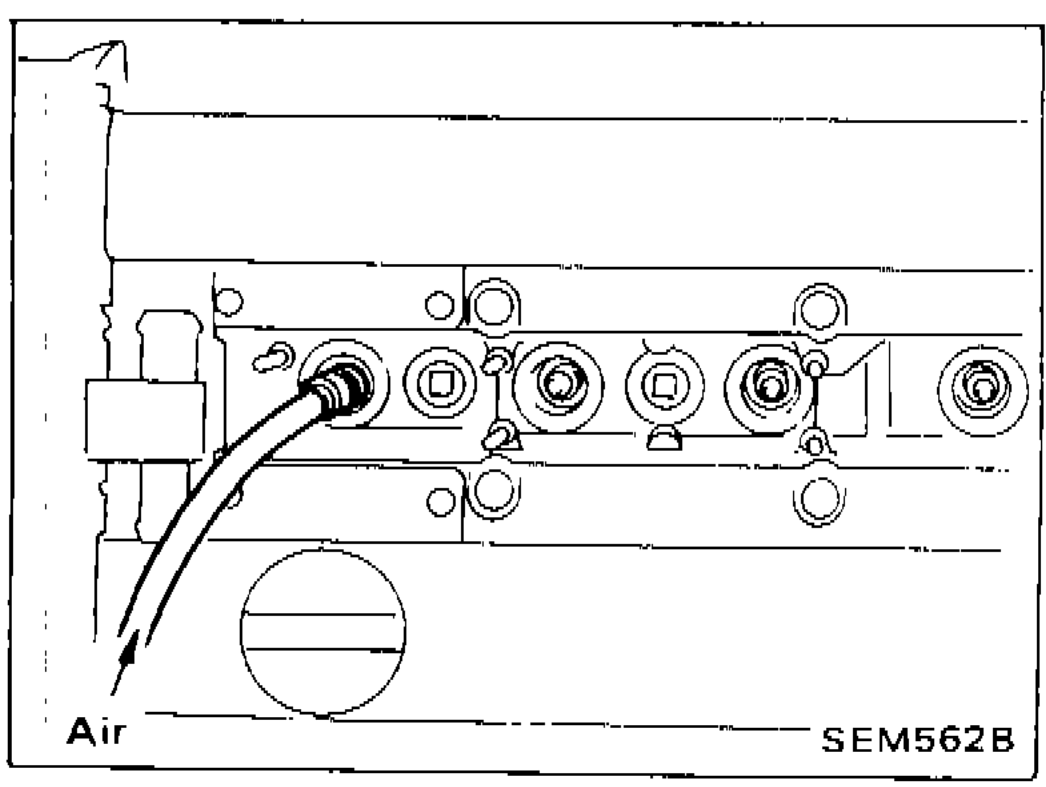 SEM562B
| Specification | Value |
|---|---|
| Air pressure for holding valvesValve oil seal replacement step 5 | 490kPa4.9bar5kg/cm²71psi |
Air pressure for holding valvesValve oil seal replacement step 5
490kPa4.9bar5kg/cm²71psi